DIY Product Photography Tips That Don’t Feel Overwhelming
If you’re a small business owner trying to juggle marketing, packaging, and every DM that lands in your inbox—it’s no surprise your product photos might feel like an afterthought. But here’s the truth: you can create strong, branded imagery without fancy gear or hours of editing. You just need a few smart strategies (and the freedom to ditch perfectionism), let me give you DIY product photography tips.
Whether you’re photographing skincare, earrings, candles, or custom tumblers—these DIY product photography tips will help you get started without feeling like you need a whole degree in lighting.
Start With Natural Light
The best light is free. Set up near a large window during the day—ideally when the sun isn’t shining directly in. North- or east-facing windows usually offer soft, even light. Avoid overhead lights if possible (they cast weird yellow tones) and skip ring lights unless you know how to diffuse them.
If shadows are harsh, try taping a white bedsheet or shower curtain over the window to soften the light.
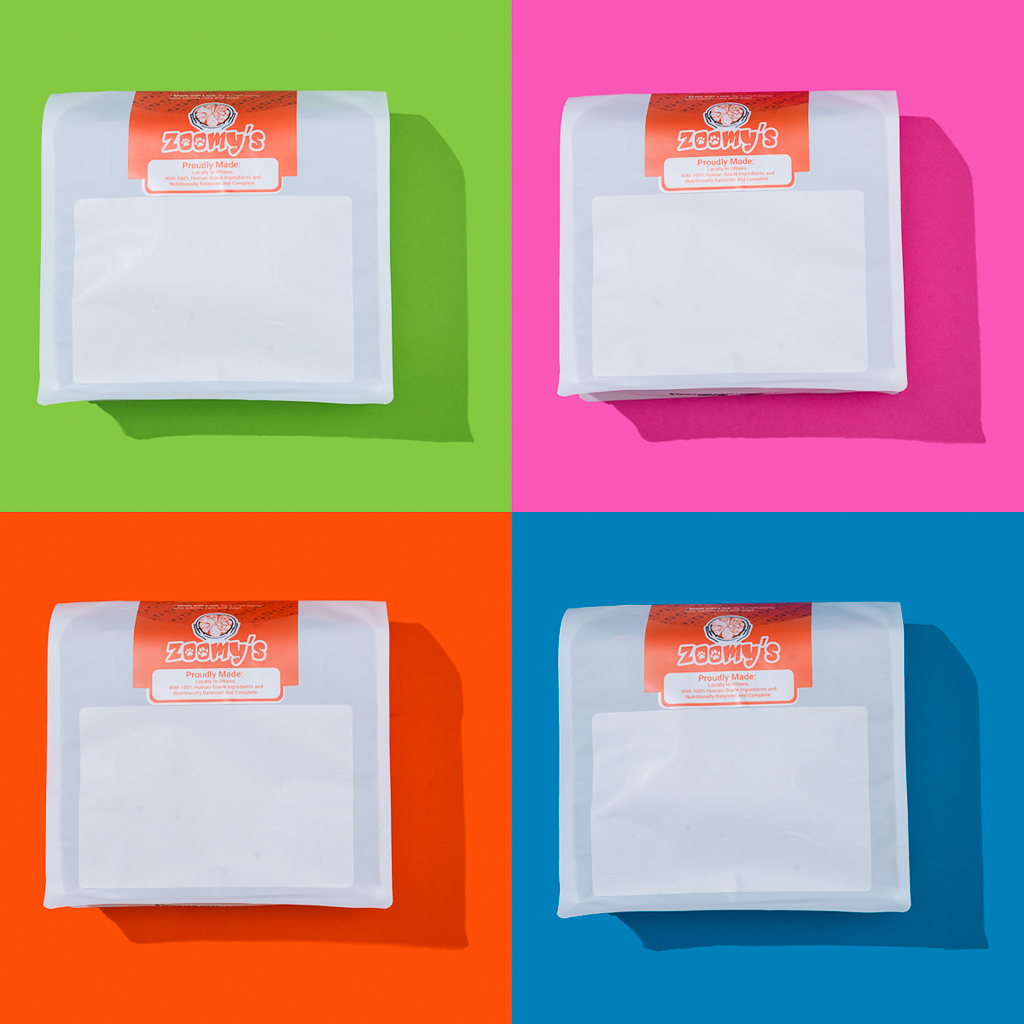
Use Simple Backdrops
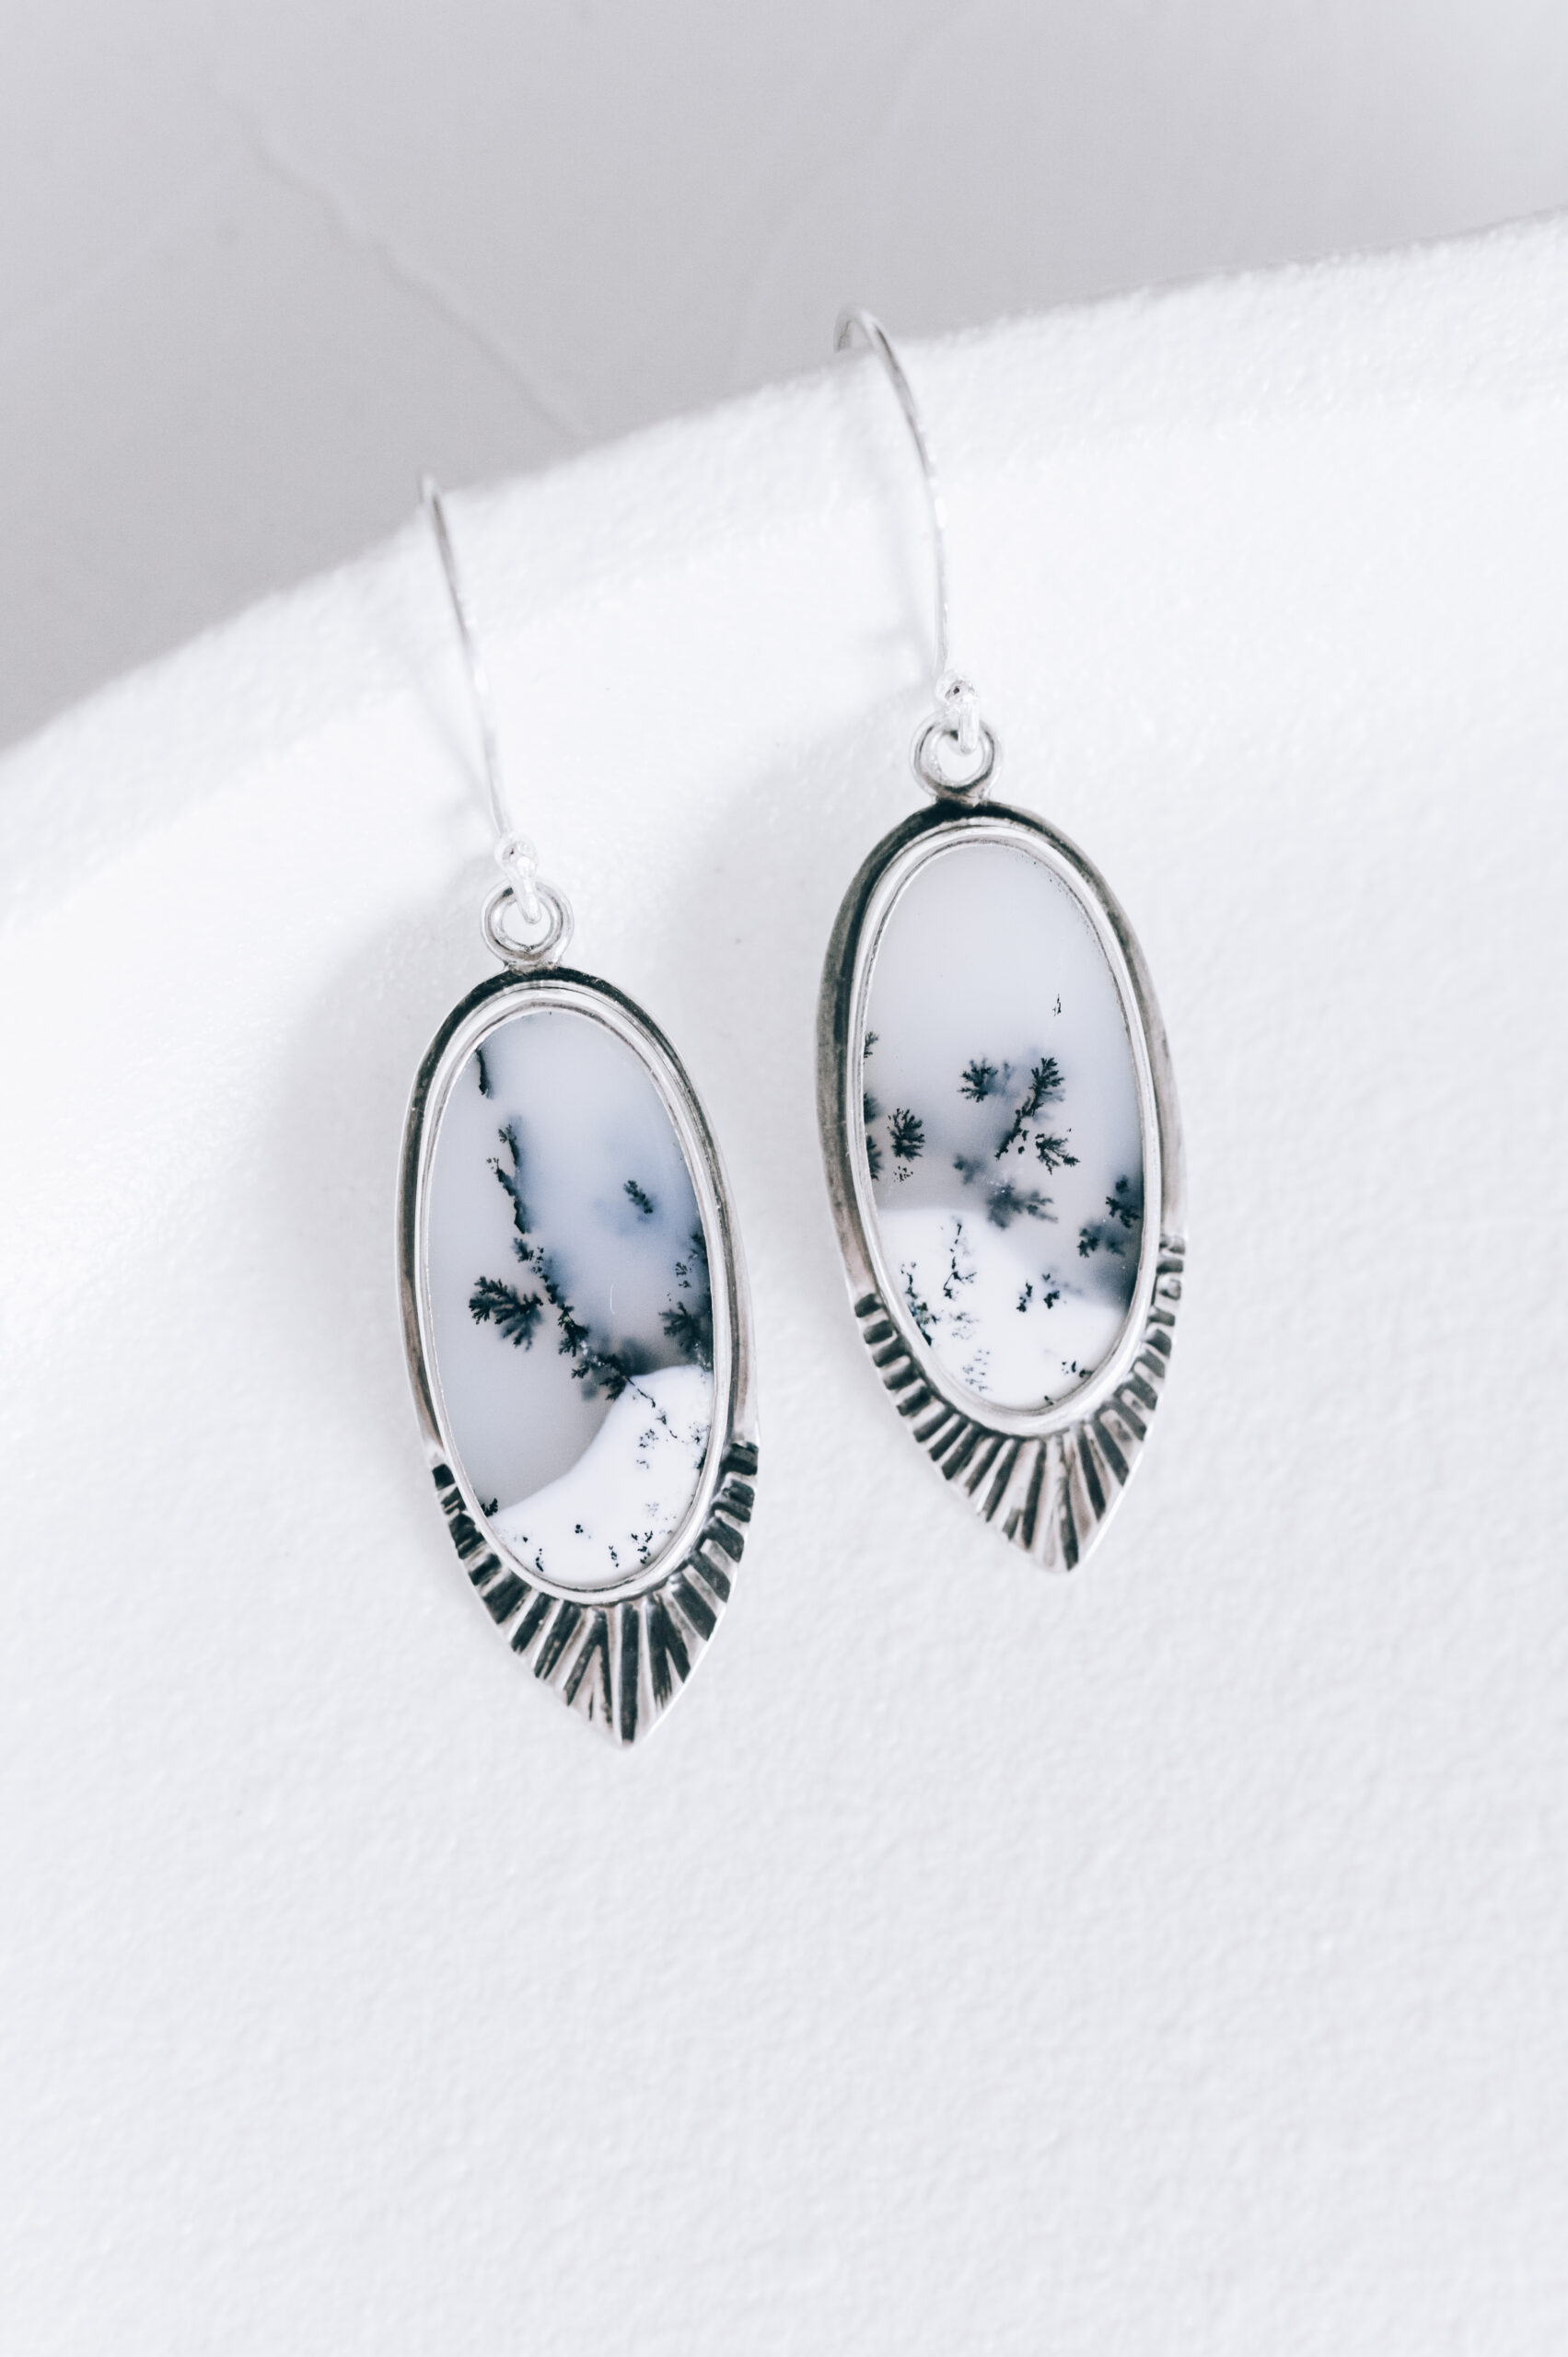
Keep your backdrop simple and consistent. Foam boards, white poster paper, linens, or wood planks all work beautifully. You don’t need a Pinterest-level flatlay setup—just clean, neutral surfaces that let your product shine.
For elevated looks, layer in brand-aligned textures (think stone slabs, sheer fabrics, or foliage). Just avoid clutter—your product is the star.
Shoot With Your Phone (and Make It Work For You)
Modern smartphones are more than capable of capturing clean, professional images. Just make sure:
You clean the lens first
You shoot in natural light
You avoid the front-facing camera
You tap to focus on the product
You keep your hands steady (or use a tripod)
No need to over-edit. A little exposure and sharpness tweak goes a long way. Apps like Lightroom Mobile or Snapseed are great free tools to polish your shots.
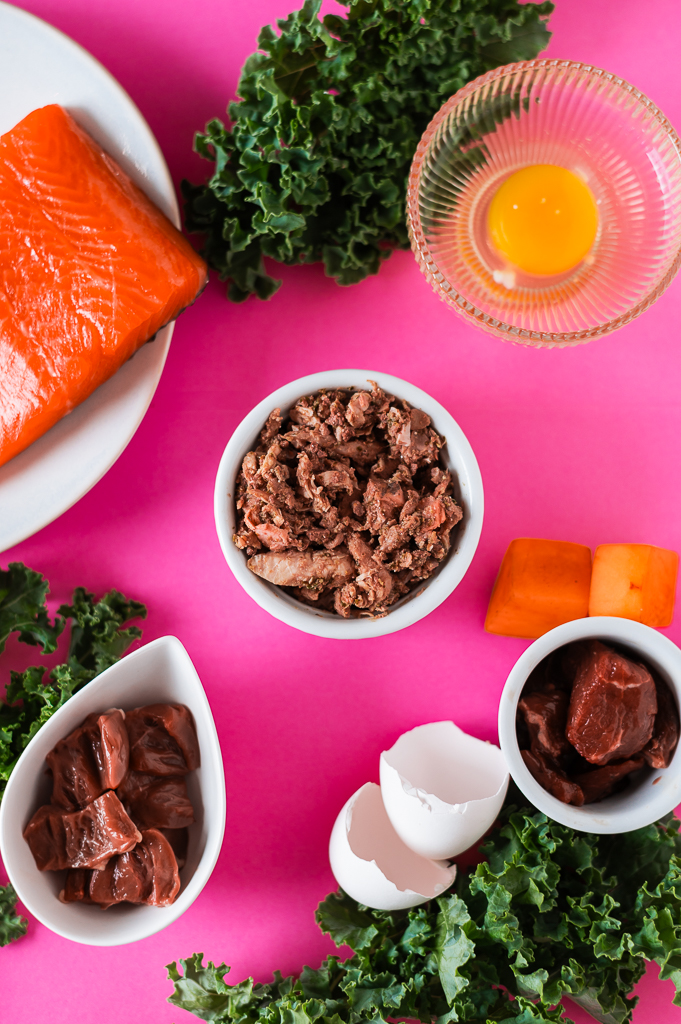
Plan Your Angles + Batch Shoot
Don’t wing it. Create a shot list beforehand: flatlays, lifestyle shots, packaging close-ups, ingredient highlights, etc. Think about how your audience interacts with your product—what they need to see to trust it.
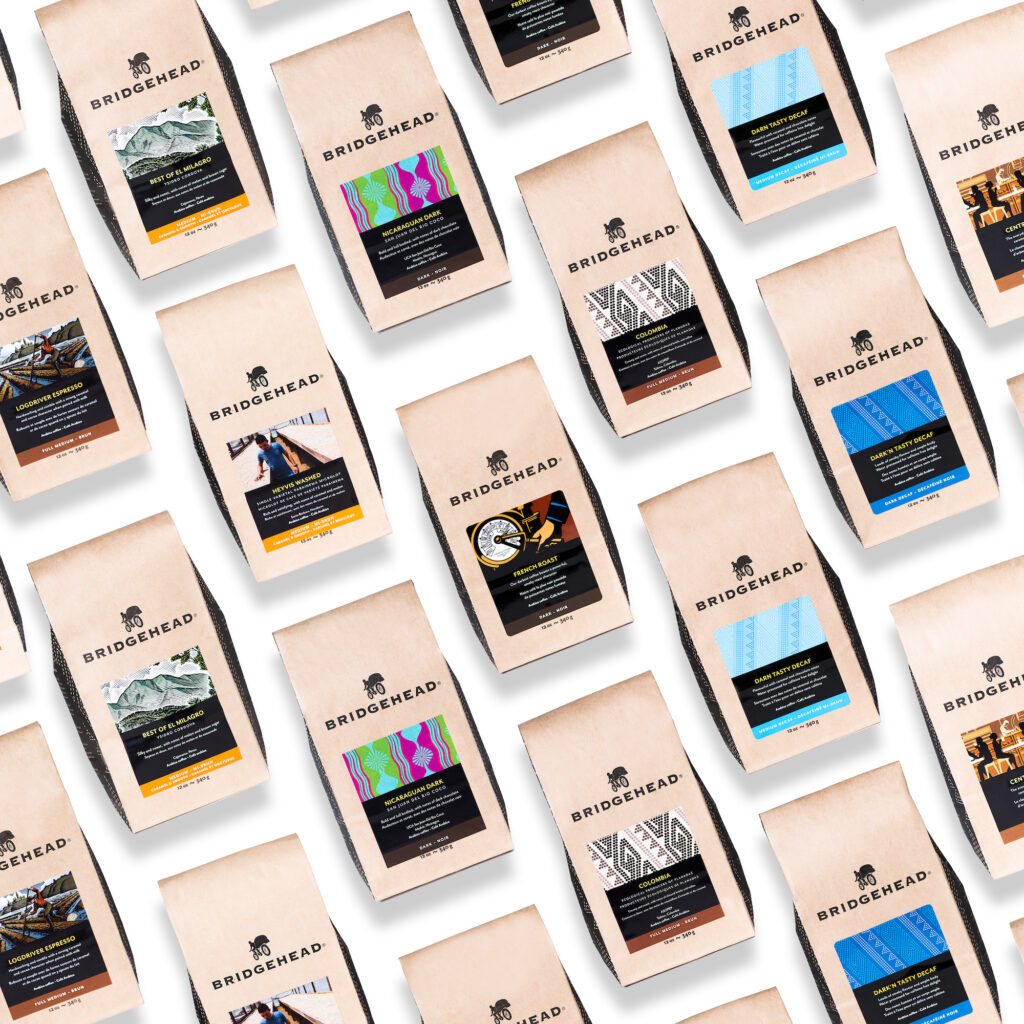
Once your setup is dialled in, shoot multiple products in one go to save time later. This also helps you create a cohesive content bank for your website and socials.
Use Props With Purpose
Props should enhance, not distract. Choose ones that make sense for your brand or product use—ceramic dishes for skincare, plants for natural products, coffee mugs for stationery. Avoid anything too branded or colourful that pulls focus from your item.
If you’re unsure, less is always more.
Let Go of Perfection
This one’s big. Done is better than perfect. Your audience wants clarity and authenticity more than museum-level staging. Your first few attempts won’t be perfect, and that’s okay—keep showing up, learning, and tweaking.
Done consistently, even DIY photos will elevate your brand far beyond blurry screenshots and bad lighting.
Product photography doesn’t have to be overwhelming. With a little light, intention, and confidence, you can create scroll-stopping content that helps your product shine.
And when you’re ready to upgrade or hand it off? I’m just a click away—whether it’s for a seasonal shoot, a template to streamline your workflow, or a course that walks you through it all step by step.
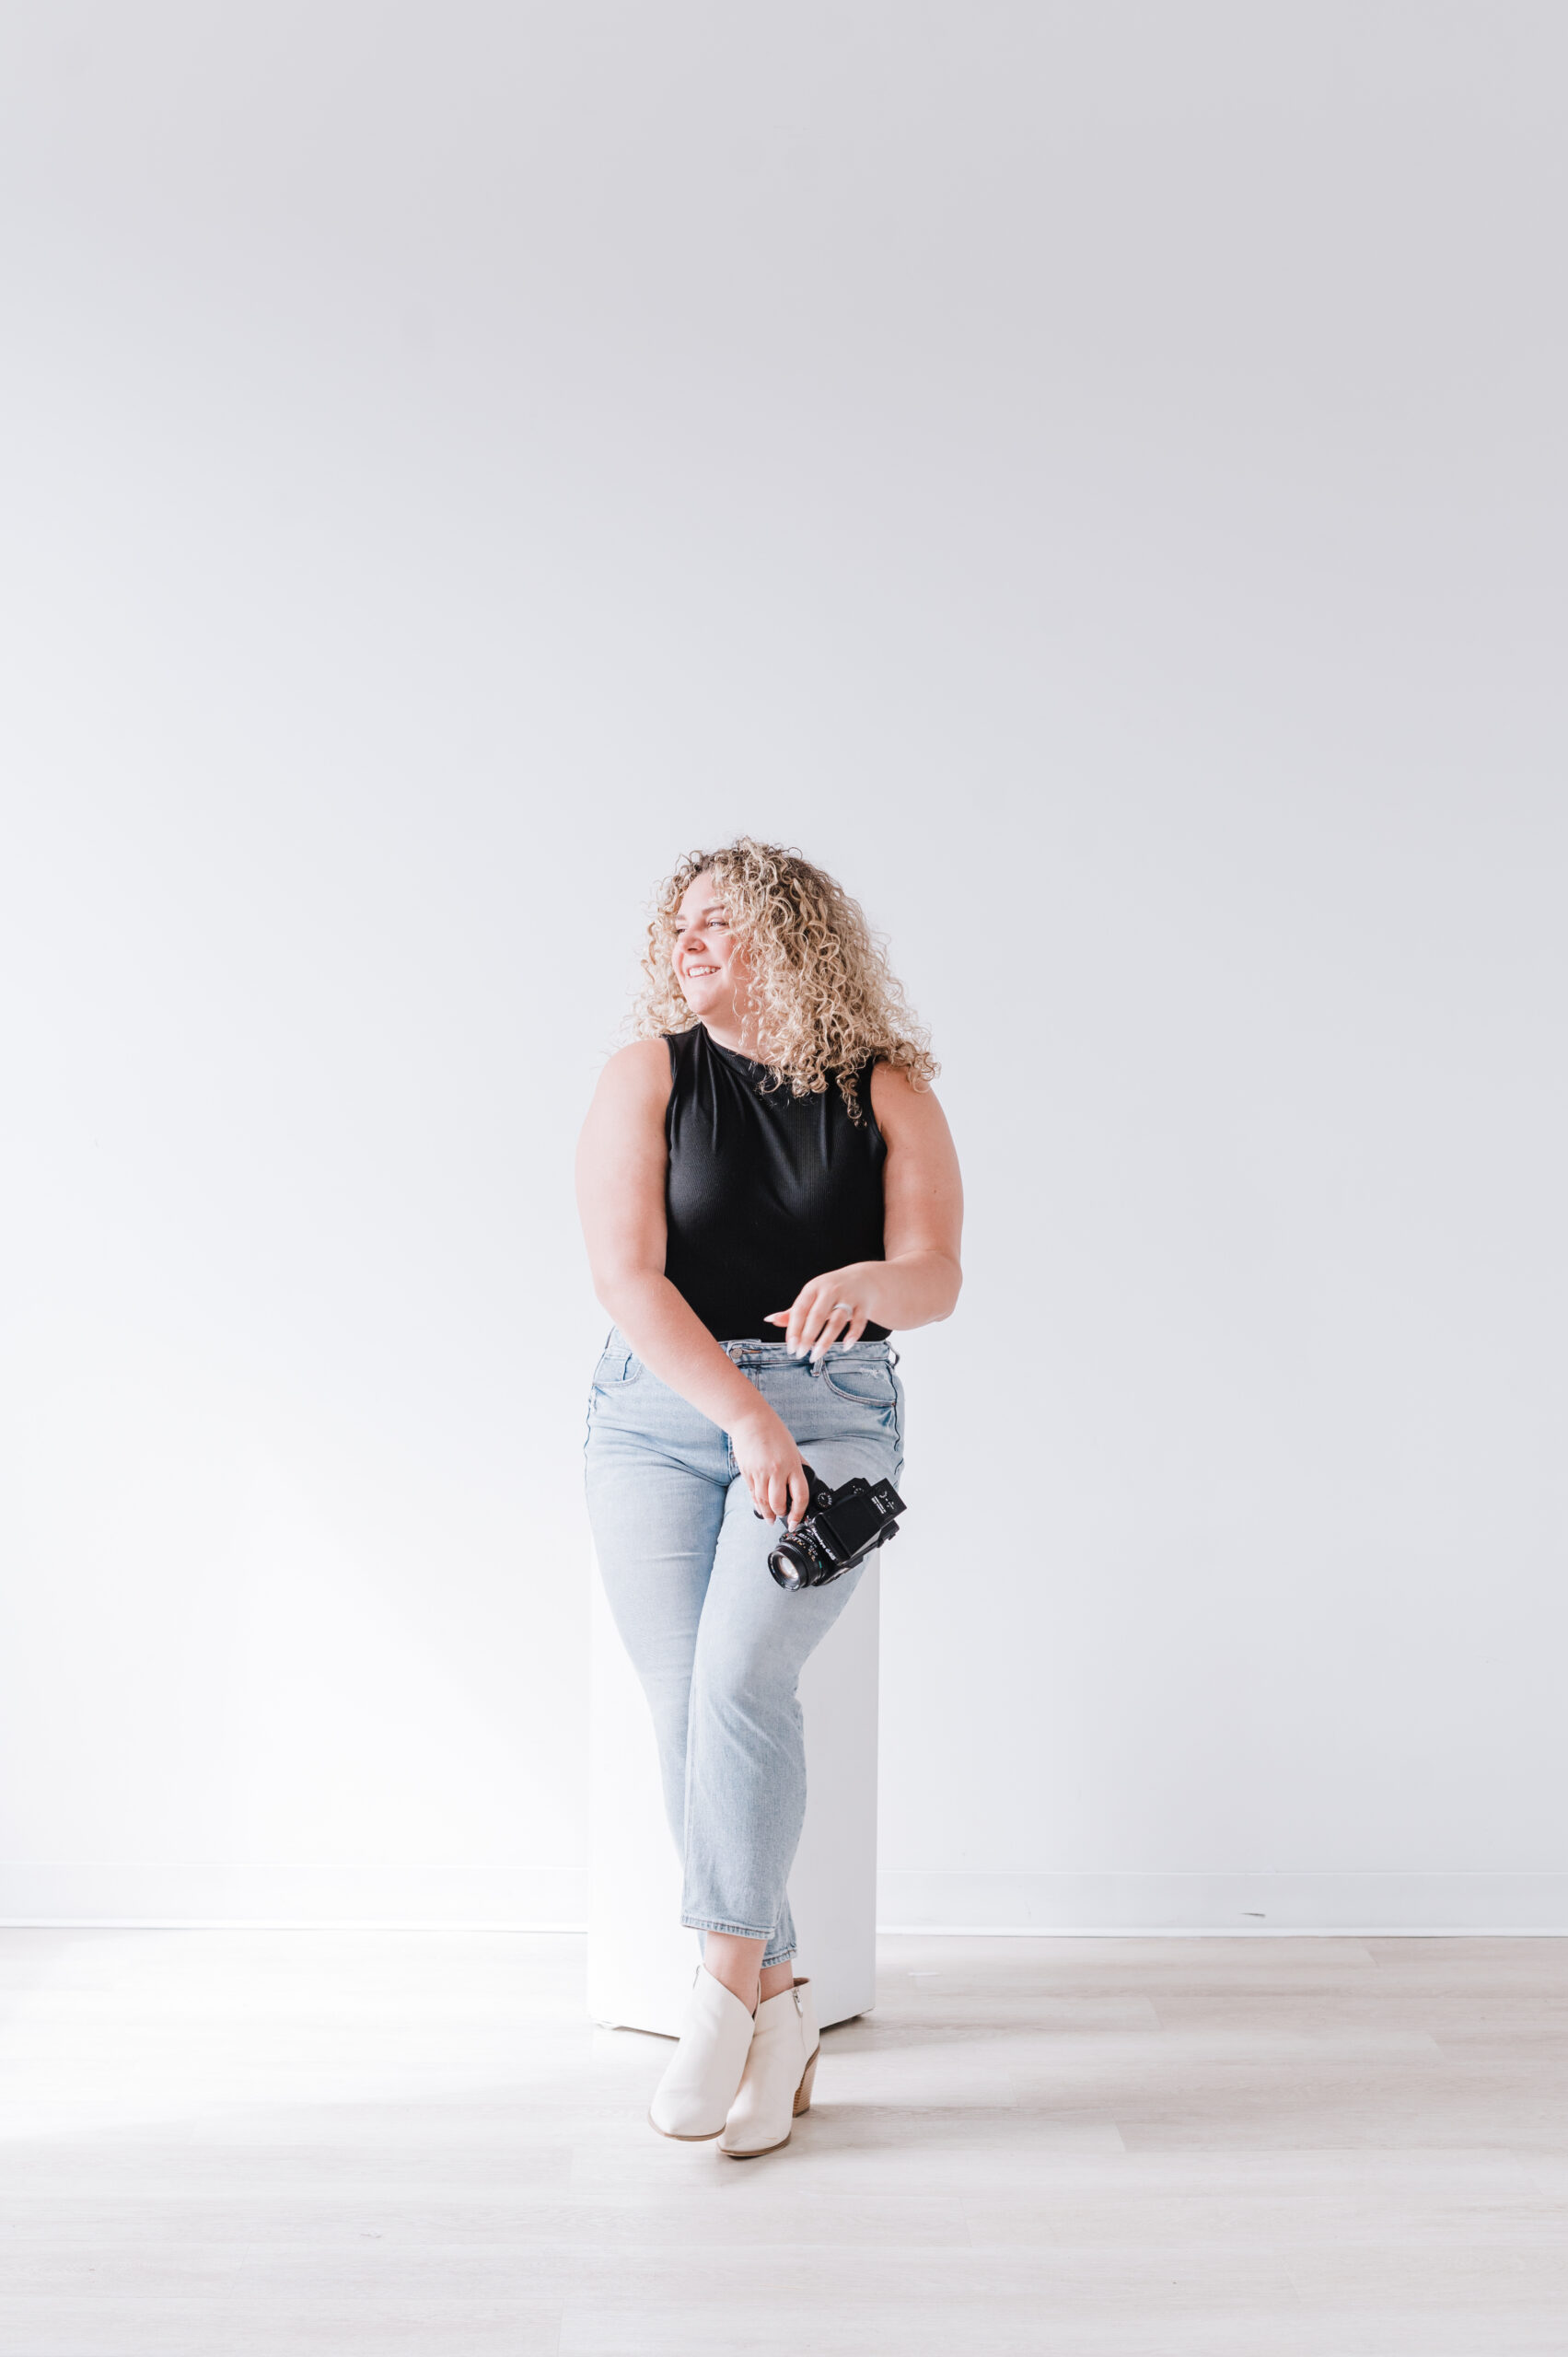
I am a margarita-loving photographer based out of Canada’s capital. I have an obsession for adventure and an appreciation for the small things in life. I’m known for my love of strong margaritas, big curly hair, and notorious sailor’s mouth.